Complete Guide to Buying Hosting at Raznar
Want your own server but confused about how to order one? Relax, the process is just like regular online shopping.
This guide will walk you through everything from choosing the right RAM to clearing up the confusion about a price that suddenly changes in the shopping cart.
Step 1: Choose a RAM Package (Based on Your Needs)
First, open the Minecraft Hosting product page on the Raznar website. You'll see several package option boxes.
Not sure which to pick? Here's the guide:
- 2 GB: Good for testing a server or just playing with one other person.
- 4 GB (Budget): If your funds are limited, this is enough to hold 5-10 players with standard plugins.
- 6 GB - 8 GB (Recommended): This is the safest and most comfortable spot for 5-10 players.
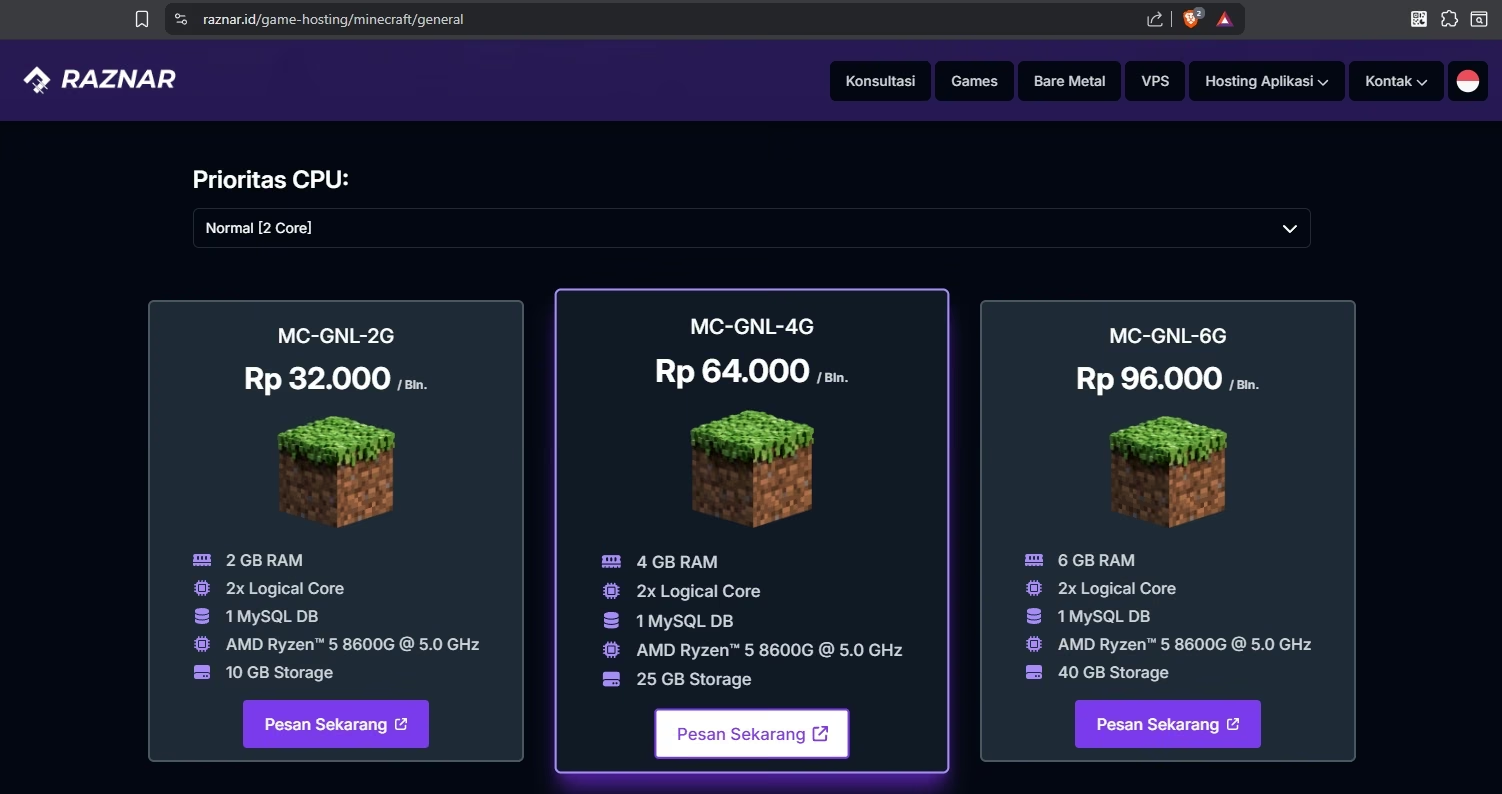 Once you've made your choice, click the purple "Order Now" button.
Step 2: Enter the Billing Website
After clicking order, you'll be directed to the product detail page (Web Billing). Here you can see the full specifications of the server you're going to rent.
Just click the "Add to cart" button to continue to the settings.
Step 3: Configure the Server (IMPORTANT!)
On this page, you can set additional specifications for your server. The part that most often causes confusion is CPU Priority. Let's go over the details.
A. Choosing CPU Priority (Core)
Here you'll find options ranging from 2 Cores, 4 Cores, all the way up to 6 and 8 Cores. Remember, the total price in the cart will change depending on the option you choose here.
Guide to Choosing Cores:
- 2 Cores (Normal): The most economical choice (Default). If you just want to make a regular survival server and your budget is tight, just pick this one. The price will go back to the normal/cheapest price.
- 4 Cores (High): Highly recommended if you plan to install GeyserMC (so mobile players can join).
- 6 Cores or 8 Cores:
Now, here's the secret. If you choose the 6 Cores or higher option, you'll unlock a special feature called "Custom Startup" in the Raznar panel later.
- What it does: You can freely edit the server's startup code.
- Why use it: This is essential if you want to play heavy Modpacks that usually require special startup flags from the mod creator so they don't crash.
B. Other Options
- Backup Limits: Leave this on the Free option—you already get 2 backup slots.
- Software: Choose Paper - Java if you want to play without mods; if you want to add something like an Addon you can use a plugin.
⚠️ NOTE: If you want to use mods, choose Forge or Fabric depending on your needs
Step 4: Checkout
After you set the CPU Priority, look again at the Order Summary box on the right.
- Make sure Total Today matches your budget.
- If it's already right, click the "Checkout" button.
- A summary of what you ordered will appear and you can also enter a discount coupon code if you have one, then click the checkbox or tick below the word total. or below the price text.

- if it's already correct you can just click Checkout again.
Step 5: Register
If you haven't created an account or registered yet, after clicking Checkout you'll be redirected to the login or Sign in page.
- To speed up registration, you can just choose the login option using a Google account, or
- Click Sign up at the bottom to register manually:
- Company Name can be filled in freely if any,
- Address is your address, you can fill it in freely if you don't want to,
- City is the city where you live,
- State is the province where you live,
- Postcode is the Postal Code, and
- Country is the Country, you can select Indonesia if you live in IDN.
- If you're done you can tick I agree to the Terms of Service and continue Sign up; after a successful Sign up a verification email will be sent to your email.
- Open the Email you used to register to verify your Raznar billing account.
Now you can just continue to the payment process (QRIS/Transfer) as usual.
Step 6: Access the Panel
After you make the payment, the server will automatically be created by the system.
- Go back to the billing website and then to the Services option

- Click on the server we've bought, then a Go to Server option will appear, click it.
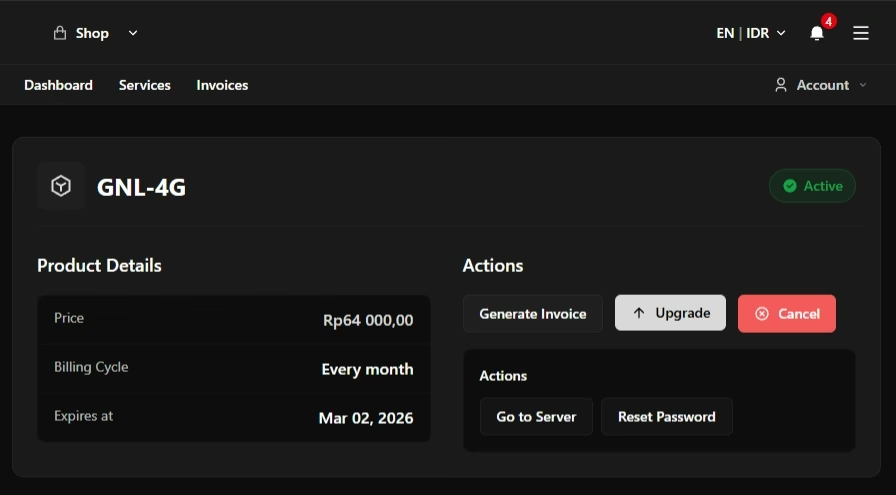
- You'll automatically be taken to the Raznar panel website that you can use—you can just click the blue play or start button to turn on the server!
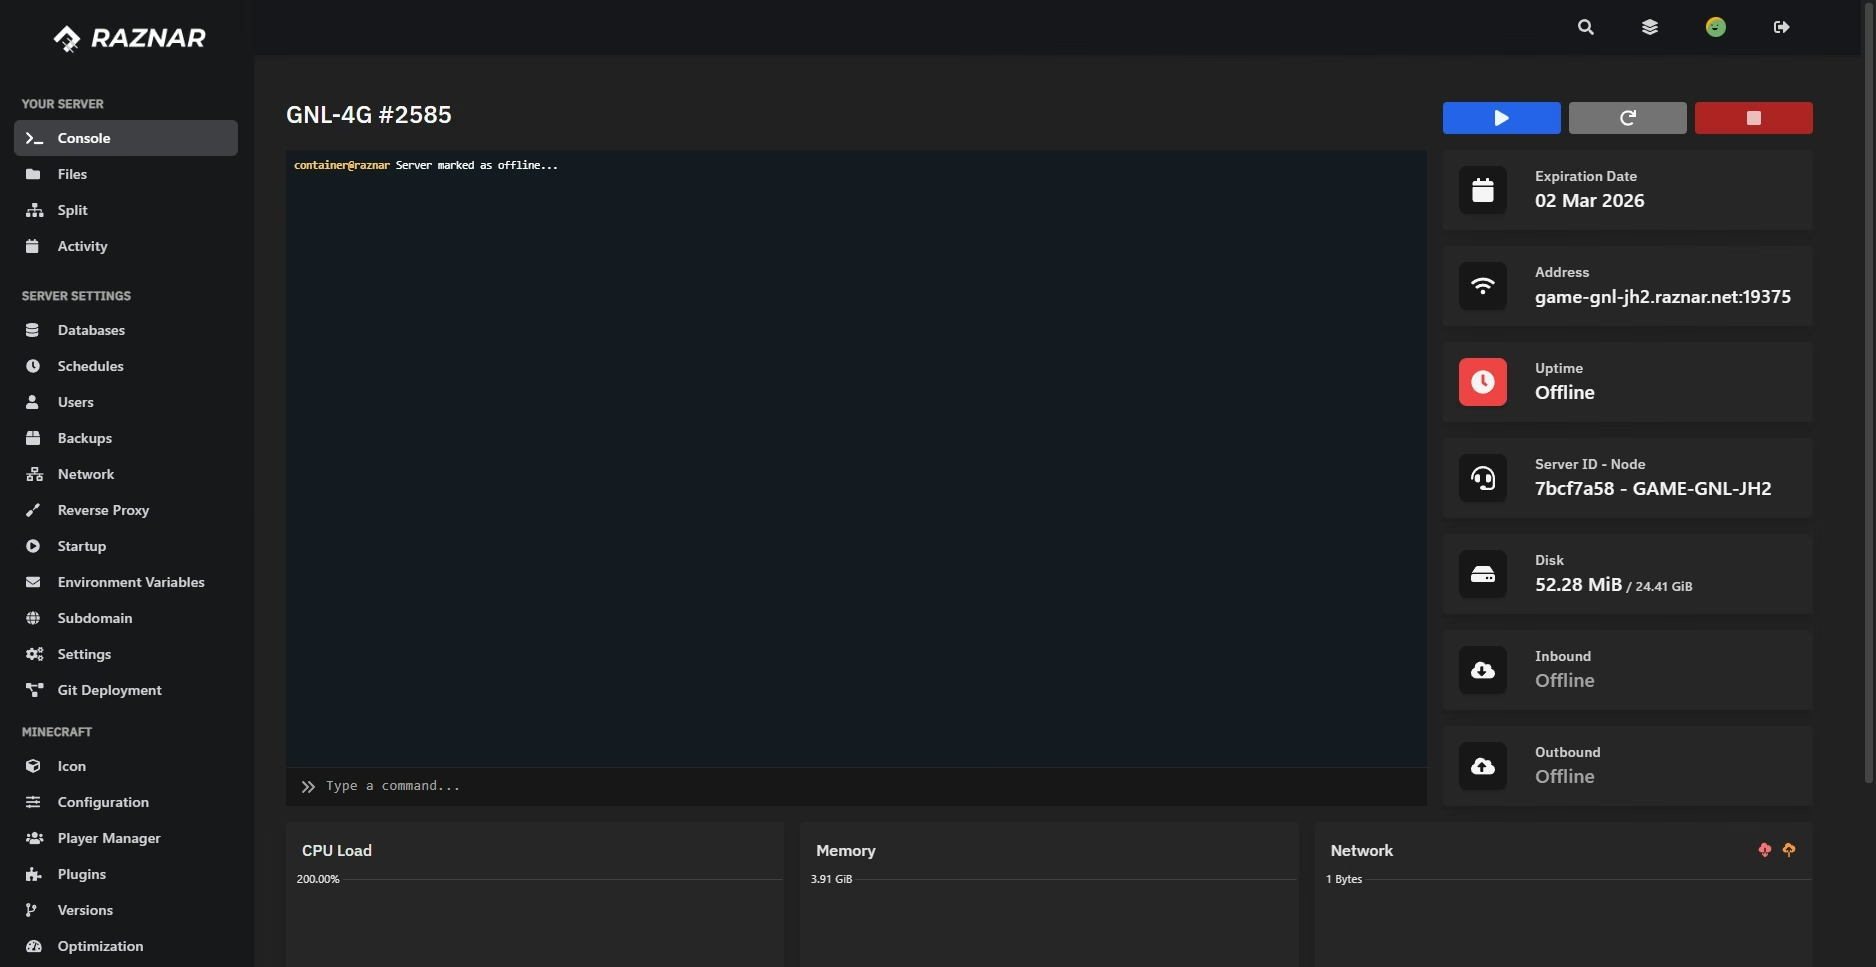
Congratulations, you've successfully bought a hosting server at Raznar ID!!